


Learn more about the essentials of videography and how to put it into practice with LUMIX S1H.


Introduction to the LUMIX S1H

LUMIX S1H Introduction
Meet the Panasonic LUMIX S1H and let LUMIX Ambassador Jacob James give you a short overview of the most video-centric member of the S-Series family. The S1H offers a full-frame sensor with up to 6K-resolution, has a sophisticated feature-set for professional cinematographers and offers anamorphic filming. It provides over 14 stops of dynamic range in V-Log and an ultra-wide Gamut, which includes BT2020 and HLG (Rec.2100) for the greatest flexibility when editing.
Length: 04:11
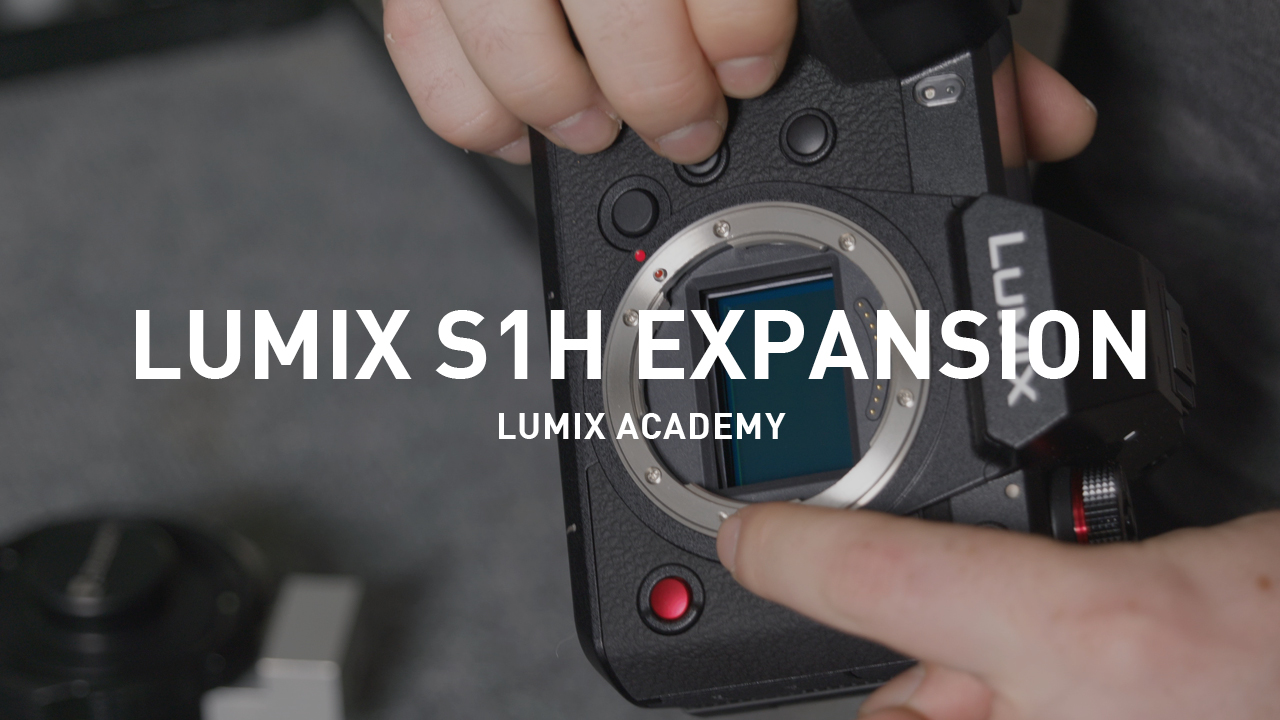
Expansion and Operability
LUMIX Ambassador Jacob James shows you some of the options to customize the S1H, such as menus and function buttons. He also introduces you to the L-Mount with its short flange back to be ultimately friendly for connection of all kinds of lenses. To round it off, Jacob shows you some options for extra peace of mind such as a battery lock and caution system, a tripod screw with pin stop to prevent rotation and software features such as loop recording to not miss a moment and segmented file recording to prevent data loss.
Length: 03:42

Production Rig Setup
Producing professional video oftentimes requires more than a capture device. In this video, Panasonic LUMIX Ambassador and filmmaker, Jacob James, guides you through some 3rd party accessories. He will show you how to fit a camera cage to the LUMIX S1H, how to mount a Schneider Xenon Cine lens with PL-mount and how to attach the follow focus unit. Jacob also shows to how connect external displays, such as the Atomos Ninja V Monitor Recorder via the S1H’s full size HDMI-out, how to secure the cable from being accidentally pulled and how to connect up to two Stereo XLR-microphones via the DMW-XLR1 Adapter.
Length: 05:15
Recording Options

Recording Options, part one
Designed as a tool for professional filmmakers, the LUMIX S1H offers a great variety of recording options, codecs, several framerates and resolutions. LUMIX Ambassador Jacob James explains the choice of containers, sensor modes, resolution and aspect ratio settings. While Full Frame mode gives you the most options for post-production and highest resolution options up to 6K, Super35-mode with up to C4K-resolution is also included. Codecs offer up to 400 Mbit/s and are either All-intra or Long-GOP.
Length: 04:34

Recording Options, part two
LUMIX Ambassador, Jacob James, informs you about the various resolution options in the LUMIX range of video-centric cameras. He explains Colour Depth and how filming with 10-Bit versus 8-Bit gives you much more options in post-production and in converting V-Log footage into linear profiles. The second important factor in colorimetry is chroma subsampling, indicating how a camera interprets colour on a pixel base. For smaller file sizes, the options to record in 4:2:0 is handy, but for better colour accuracy, a 4:2:2 option is the better choice – and implemented in LUMIX S1H, S1 and GH-Series (from GH4).
Length: 03:21

Recording Mode Filter
The LUMIX S1H provides a full spectrum of recording formats: From HD/180fps to 6K high resolution. For an easy overview, the LUMIX S1H comes equipped with a dedicated menu option: The recording mode filter. This allows you to pre-select various project settings, such as framerate, resolution, codec and Hybrid Log Gamma and will then show only the matching recording modes. Furthermore, the LUMIX S1H allows you to save your selection in a Quick Access Menu, which can store up to 12 individual sets, making it easier when working on several different projects at the same time.
Length: 01:45
Expanding the setup

Understanding Framerates
Framerates are an important concept to be understood even before choosing your project settings. LUMIX Ambassador, Steven Clarey, explains the differences of PAL-, NTSC- and Cinema-settings. In addition to the classic 24 frames per seconds for Cinema or 50/60 Hertz settings for broadcasting, the LUMIX S1H comes packed with Variable Frame Rate settings and even High Speed Frame rates up to 180 fps (while offering Audio recording and Autofocus) for speeding up or slowing down your sequences.
Length: 04:27

Understanding Timecode
Timecode is a clock, that counts in frames and is natively integrated into the LUMIX S1H and GH5S. It is the industry standard way to sync material coming from different sources. This can for example be a Multi-Camera-Setup or simply one camera and externally recorded audio. Syncing it automatically via a common timecode saves time and money. LUMIX Ambassador Nick Driftwood explains about different Timecode settings available, shows you how to sync with Timecode and also how to tie in non-Timecode devices (such as the LUMIX S1 or LUMIX GH5) via external Timecode generators, such as the Tentacle Sync-System.
Length: 06:04
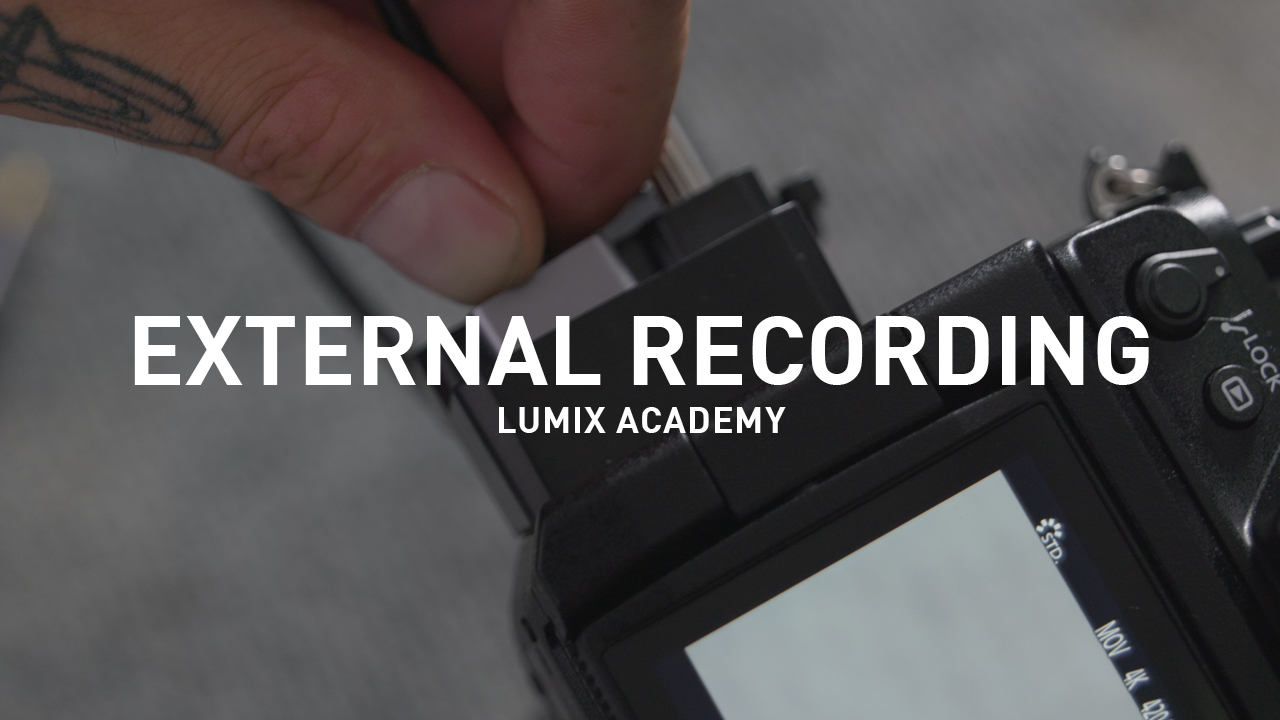
External Recording Options
There are times, when you wish to also record externally to create a second file for backup purposes or for having one in another resolution. The LUMIX S1H has several options via its full-size HDMI-output. LUMIX Ambassador Steven Clarey takes you through these options and explaining examples, such as capturing 4K/60p footage in 10 Bit on an Atomos Recorder Monitor – also to give you access to other codecs, such as ProRes HQ.
Length: 02:58
Exposure

Shutter Angle and Gain
Photographers and filmmakers traditionally have different ways to determine the exposure of images, which results in having different terminology and handling. LUMIX Ambassador Steven Clarey explains the differences of setting your exposure in increments of seconds or degrees as well as giving you insight on how shutter speed and framerate interact. He will also introduce the Synchro Scan tool, which ensurs that capturing footage with flickering is minimised.
Length: 04:08
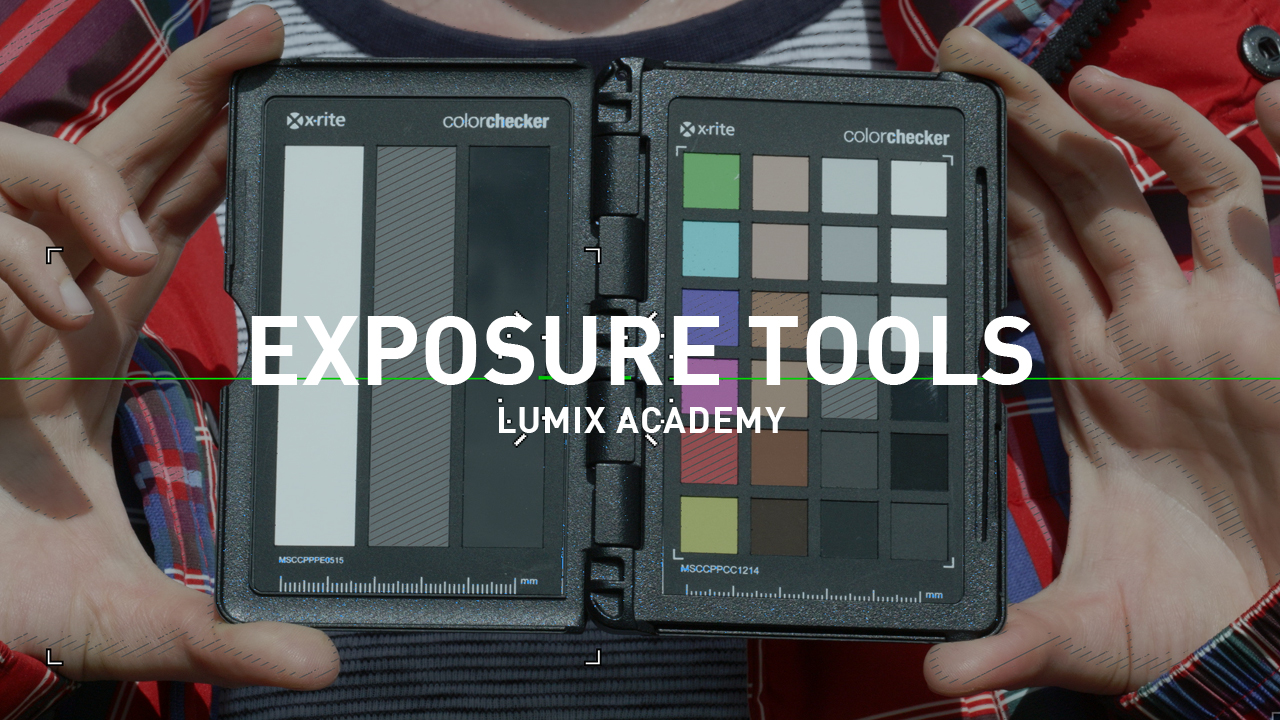
Exposure Tools for Video
LUMIX Ambassador Jacob James introduces you to the exposure tools of the S1H and how to set them. These include Zebras, which allow you to identify areas of the image, that are either under- or overexposed, as well as the wave form monitor to keep your overall exposure in sight and controlled while rolling. The Luminance Spot Meter function allows you to see the luminance value of any area of the image in order to easily adjust exposure settings to monitor the consistent values in different lighting situations or set the exposure value quickly with a reference, such as a grey card.
Length: 04:35

Master Pedestal Control
Within the movie customisation menu of the LUMIX S1H, GH5 and GH5S, you have the option to manually set the black point of your camera. This so-called Master Pedestal control either lifts the shadows or make them darker and is of great use, when either needing to sync the look in a multi-cam-set up or having to monitor live broadcast with no chance to adapt the look in post.
Length: 01:28
Sensitivity / HLG
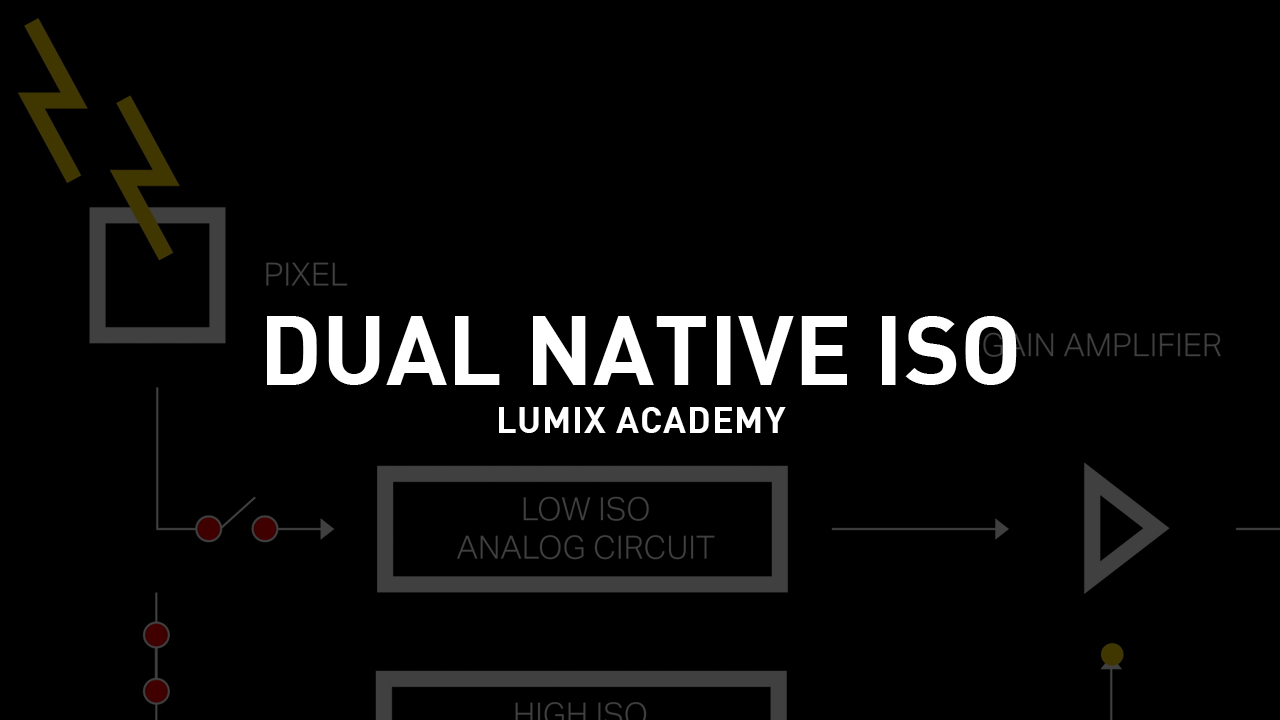
(What is) Dual Native ISO
Having Dual Native ISO translates into having a camera with a better low light quality. To get this higher sensitivity, the camera’s sensor has a sensitivity switching circuit for each pixel. Sounds complicated? Follow the explanation from LUMIX Ambassador Steven Clarey about Dual Native ISO and see, how the great Low Light sensitivity in LUMIX S1H and GH5S are achieved.
Length: 02:24

What is Hybrid Log Gamma?
Filmmaker and LUMIX Ambassador Nick Driftwood shows and explains the difference between Standard Dynamic Range and High Dynamic Range (HDR) and how to get the best quality output for Standard and HDR-Displays. Learn about Gamut and how SDR’s Rec.709 differs from BT2020/Rec.2020. What is BT2100, “Hybrid Log Gamma” (HLG) and how to get the best image quality in HDR out of your LUMIX camera for any use.
Length: 03:02
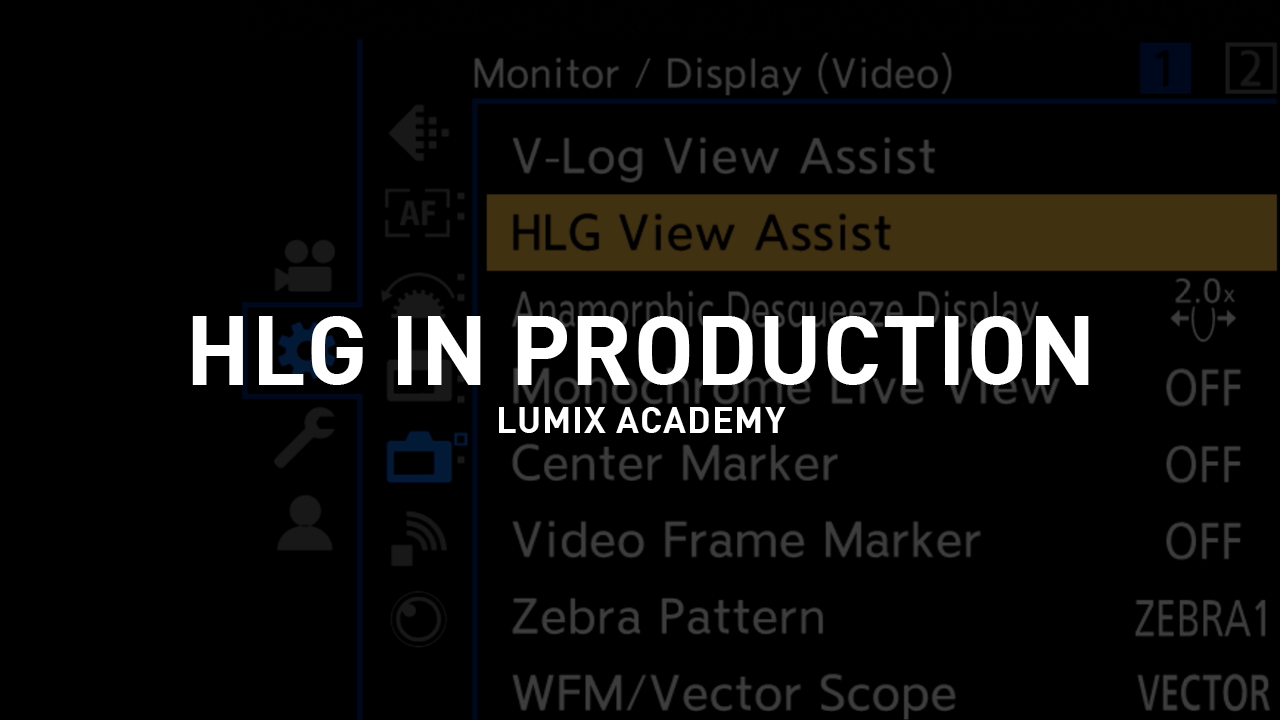
How to use HLG in production?
Filmmaker and LUMIX Ambassador Nick Driftwood guides you through the settings for shooting in Hybrid Log Gamma (HLG) on the LUMIX S1H in order to record the wide dynamic range for displaying footage on HDR-Displays. Shooting in HLG gives you the best options for delivering content for both HDR- and SDR-use.
Length: 02:32
Shooting with V-Log

V-Log and V-Gamut
V-Log is a logarithmic curve which describes the relationship between colour bit values and exposure. Using V-Log will preserve the most dynamic and tonal range from a RAW-signal making it the best format to prepare for post-production. LUMIX Ambassador Jacob James introduces this format and the corresponding colour space: V-Gamut. Jacob shows you the relationship of V-Gamut to other colour profiles, such as Rec.709, Rec.2020 or Rec.2100, ensuring compatible to your destination project format or colour space.
Length: 02:25

Understanding (V-Log and) LUTs
V-Log is a flat format and needs interpretation and adjustment to get the final colour appearance. Lookup tables (LUTs) are files that modify an image into another image through a mathematical formula. By this, LUTs do the job of translating V-Log footage into the final look for your project. In this video, LUMIX Ambassador Jacob James will explain monitoring, transformation and creative LUTs and how to use them.
Length: 03:43

Exposing V-Log
V-Log footage is often tricky to expose. LUMIX ambassador Nick Driftwood takes you on a tour through LUMIX S1H’s tools to give you hand in setting your exposure correctly in V-Log. He shows you how to use LUMIX V-Log View Assist to preview your Log-footage with a LUT applied, guides you though using the Luminance Spot Meter and the Waveform Monitor with the aid of a Grey Card and set the exposure values of your camera correctly.
Length: 01:22
Others

Recording Indication Options
The LUMIX S1H is equipped with Tally Lights on the front and back, which can be individually switched on – or kept off There is also the possibility to set a red frame to the Viewfinder / Monitor, indicating that the LUMIX S1H is recording. LUMIX Ambassador Steven Clarey shows you, where to set the Tally lights and also the Recording Frame indicator in the camera.
Length: 01:33
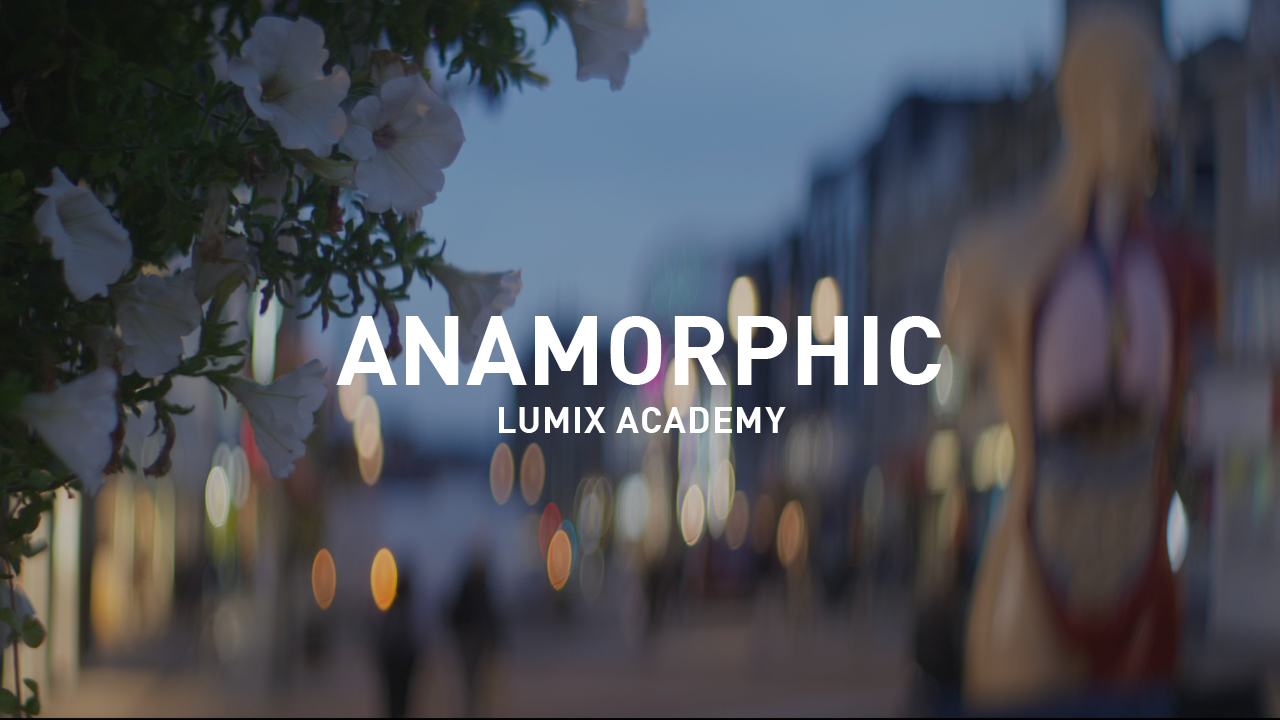
Why Shoot Anamorphic?
LUMIX Ambassadors Jacob James and Steven Clarey explain the differences between spherical and anamorphic lenses and how the lens choice affects the look of the footage. They will show you the in-camera settings for working with anamorphic lenses, how to adapt the Image Stabiliser for anamorphic shooting and how to de-squeeze the footage in-camera to give you a preview of the final appearance of your shots.
Length: 04:09
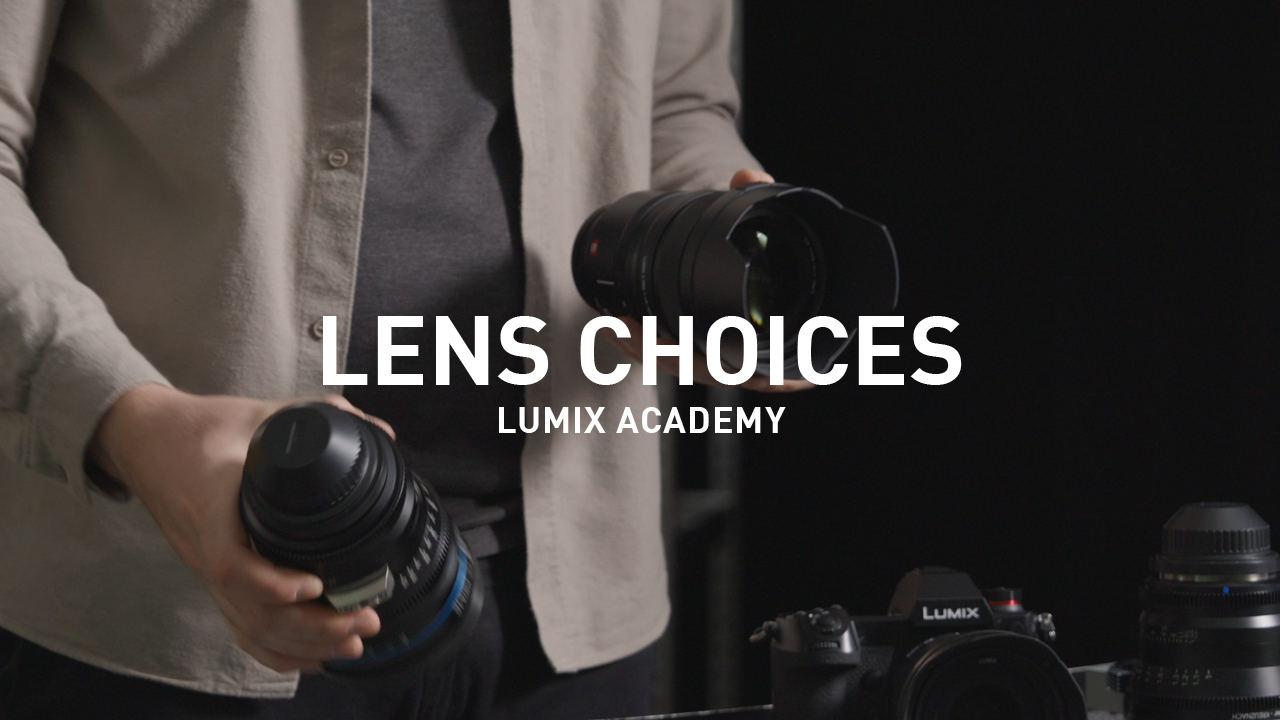
Lens Options for Video
LUMIX Ambassador Jacob James shows you the differences of using native autofocus lenses and manual cine primes. From explanation of the native L-Mount-lenses to showing how to adopt the wide-spread PL-Mount-lenses to the LUMIX S1H, Jacob explains the options and when to choose which lens. To support manual focussing, the S1H offers a customizable focus peaking option, magnification up to 20x and a punch-in to adjust focus on the spot. Manual lenses can be registered in the camera and get an individual stabilisation profile assigned.
Length: 06:29