Drew Buckler’s Top Tips for Portrait Photography
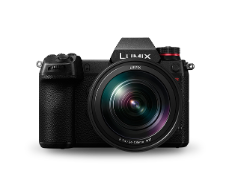
We asked Lumix Ambassador, Drew Buckler, to share his advice on creating the best portrait photographs, using the S1R camera. As a photographer, taking advantage of the lighting can really bring your photographs to life so Drew Buckler provides his top tips when shooting in ambient, harsh, low and studio light.
Ambient Light

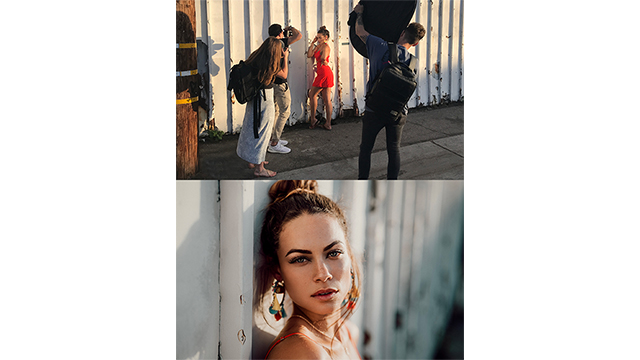

Light source - My favourite use of ambient light is to place my subject with their backs to the sun. I then find a natural bounce for their face from a white wall or building - alternatively, I use the white side of a reflector!
Equipment - all of the above images are captured on the S1R & 50mm F1.4 S Pro lens. I really enjoy using this focal length as it renders close to how we see things with our own eyes. I can also take close up portraits & full body shots easily. Not to mention the sharpness!
Settings - these vary based on the environment and lighting - however, I always try and shoot between F1.4 and F2.8 as the S Pro lens produces such beautiful bokeh!
Low Light


Find available light - without using strobe lights, finding available light sources is your next best option. Typically found on high above, ensuring your subject either looks in the direction of the light is important to avoid dark shadows on their face.
Shutter speed - 1/20 of a second helps us draw in more light with the dark subway conditions, Shio standing still avoids any motion blur on her face, the S1R’s excellent IBIS takes care of minor shakes and the slow shutter speed blurs the moving train.
White balance - I use the S1R’s auto white balance to take care of tungsten or fluorescent colour casts - I’ve found this function to be very reliable.
Aperture - Using the 50mm F1.4 S Pro lens for this image allowed me to draw in as much light as possible shooting wide open.
The edit - Subways always remind me of movies, with this in mind I’ve gone for a cinematic red & green.
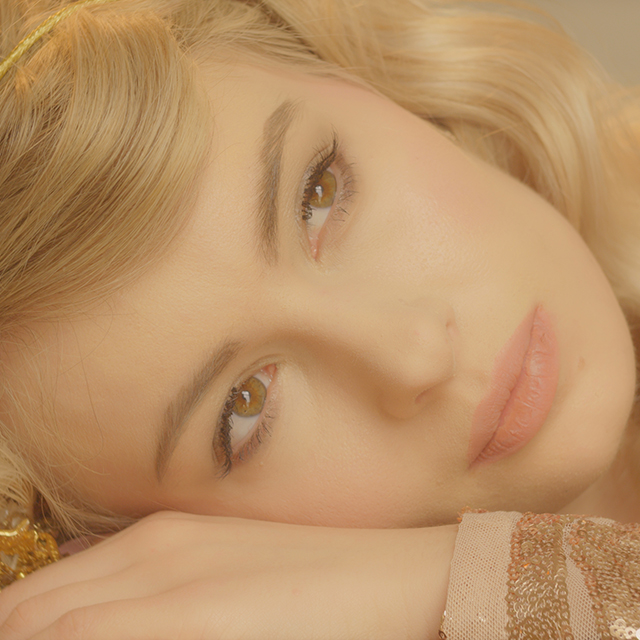
Harsh Light – Midday Sun
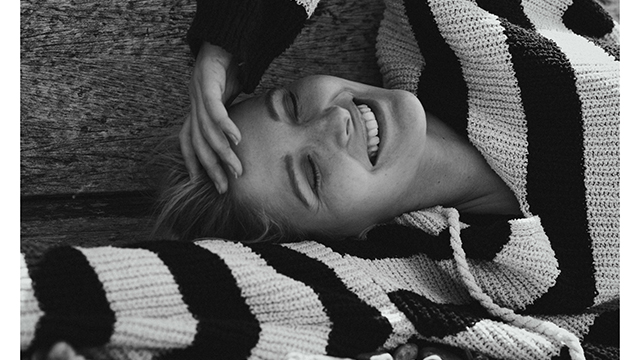
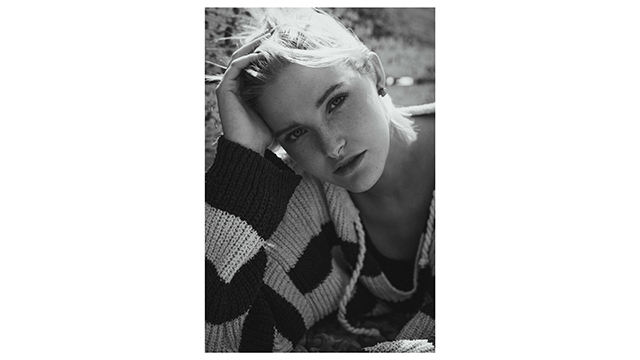


Lighting - I will take absolutely every step possible to always take photographs in golden hour sun - whether that’s portraits, product photograph or landscape. However, sometimes this is not possible! Using harsh light I will find shade, and find it quickly - I want to avoid any harsh light hitting my subjects face.
Flat - Taking photos in shade can produce flat results, this is when I would consider adding in a soft box to light the subject. In this case I have used the sun as a dramatic hair light to add some interest!
Settings - Harsh lighting can be tricky to maintain a desirable shadow depth of field. If you find yourself at ISO100 and 1/8000 of a second and still overexposed - try using an ND filter. On the bright side (haha), the S1 & S1R are very forgiving - highlight & shadow recovery is excellent!
Editing - If your image lacks colour, try flipping it to black and white in post! This works especially well in harsh lighting conditions.
Studio Light


Concept - when using studio lighting I want to try and achieve a natural look. If possible, I want to make the image appear as if it could have been lit by ambient lighting. I like to have a clear idea of the end results, rather than taking lots of photographs with no end goal.
Equipment - I like to use ‘’rice bowl’’ style soft boxes with multiple layers of diffusion. I then use hybrid flashes and speed lights as I don’t need much power shooting at wide apertures. I favour using the Lumix S Pro 24-70mm in a studio environment, enabling me to quickly capture an extensive variety of wide and detail shots.
Set up - I pointed the soft box at roughly a 45 degree angle to the subject, creating moody shadows and a whole lot of depth! No bounce or any tricks - just one light!
Edit - I added cool tones to the shadows and layered snow in photoshop to achieve a wintery feel!
Check out Drew Buckler’s Instagram for more of his amazing photography using the S1R: @drewbuckler.